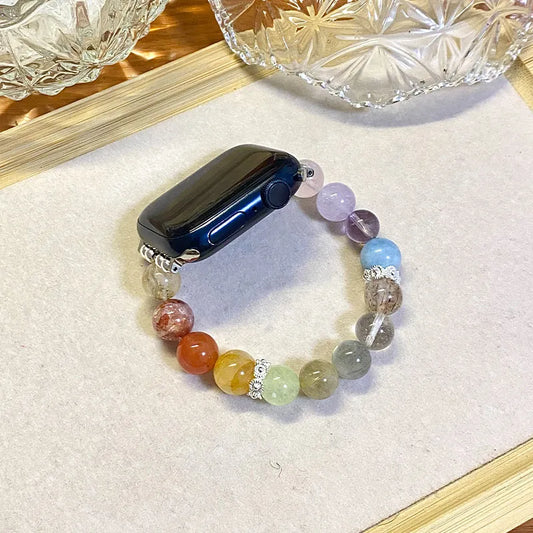
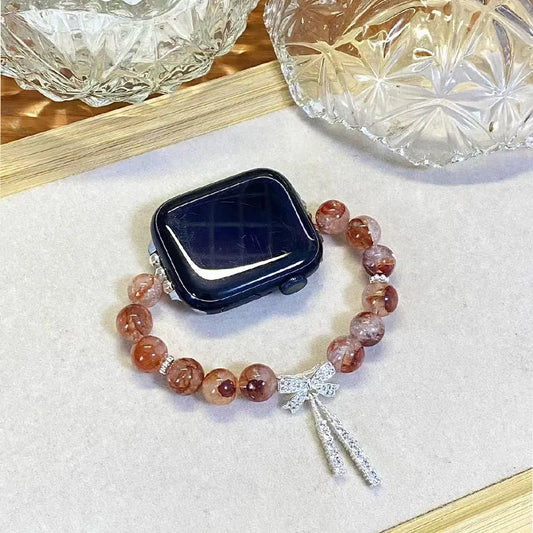
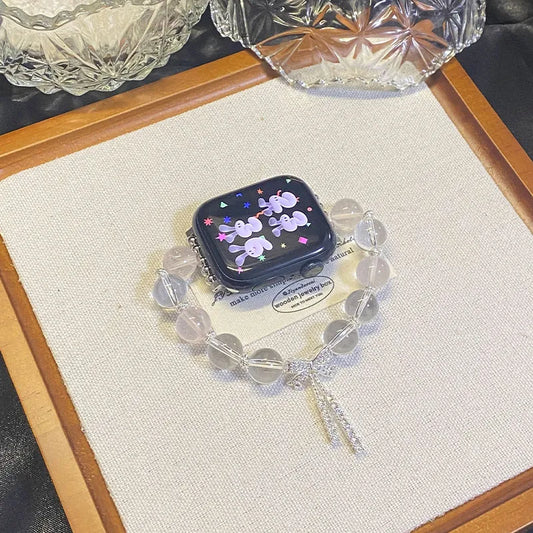
Changing your Apple Watch band is one of those small things that makes your watch feel new again.
Whether you’re switching styles or fitting a new band for the first time, here’s a clear, step-by-step guide to help you do it right — safely, easily, and in just a minute or two.
Before You Start
From the first Apple Watch Series to the latest Ultra, every model uses the same release system (Some special bands with built-in cases or modification kits attach to the case rather than the watch itself). On the back of your watch, you’ll find two slim buttons that unlock the band.

If you’re not sure which model or band size you have, check Apple’s official size guide. It’s also important to make sure your new band matches your case size (38 mm, 40 mm, 41 mm, 42 mm, 44 mm, 45 mm, 46 mm, or 49 mm).
How to Remove Apple Watch Band
1. Hold your Apple Watch facedown in one hand
You’ll see two narrow release buttons along the band connectors.

2. Press and slide
Use your nail to press one release button.
While pressing, slide that side of the band sideways — it should glide out smoothly.

Repeat for the other side.
💡 If the band feels stuck, make sure the button can be pressed down, then try moving the band slightly side to side.
If it still doesn’t slide out, don’t force it — see our detailed guide: Apple Watch Band Stuck? Here’s How to Fix It.
How to Attach a New Band
1. Align the band correctly
Make sure each part of the new band faces the right way — the side with three black dots should face up toward your watch screen.

2. Slide it in until it clicks
Insert one side of the band into its slot and push gently until you feel or hear a click — that means it’s locked in.

Repeat for the other side.
3. Check the lock
Give each side a light tug — if it doesn’t move, it’s secure.
If it slides freely, remove it and try again until you feel that soft “click.”
Your Apple Watch is ready to wear again.
FAQ
Can I use any Apple Watch band?
Most bands fit multiple models, but always match your case size (40 mm ↔ 41 mm, 44 mm ↔ 45 mm).
Is it safe to change Apple Watch bands often?
You don’t need to worry. Apple designed the connector to handle everyday swaps with ease. Treat it gently, and it’ll stay secure for years.
Do I need tools to remove a band?
No tools needed — just your hands.
Why does my Apple Watch band feel stuck when I try to remove it?
If your band feels stuck, it’s often because sweat, dust, or lotion has built up around the connectors. Gently clean the grooves and edges with a soft, dry cloth before trying again. Keeping your bands clean prevents this issue — learn more in our guide: How to Clean and Maintain Your Apple Watch Bands.
Will water damage my band connectors?
High-quality Apple Watch bands can handle sweat, rain, or swimming without harming the connectors. Poor-quality bands may corrode or rust over time, especially at the connection points. After swimming or heavy sweating, rinse and dry your band to keep it in good condition.
Find Your Perfect Band
Now that you know how simple it is to change your Apple Watch band, maybe it’s time to give your watch a few new outfits.


